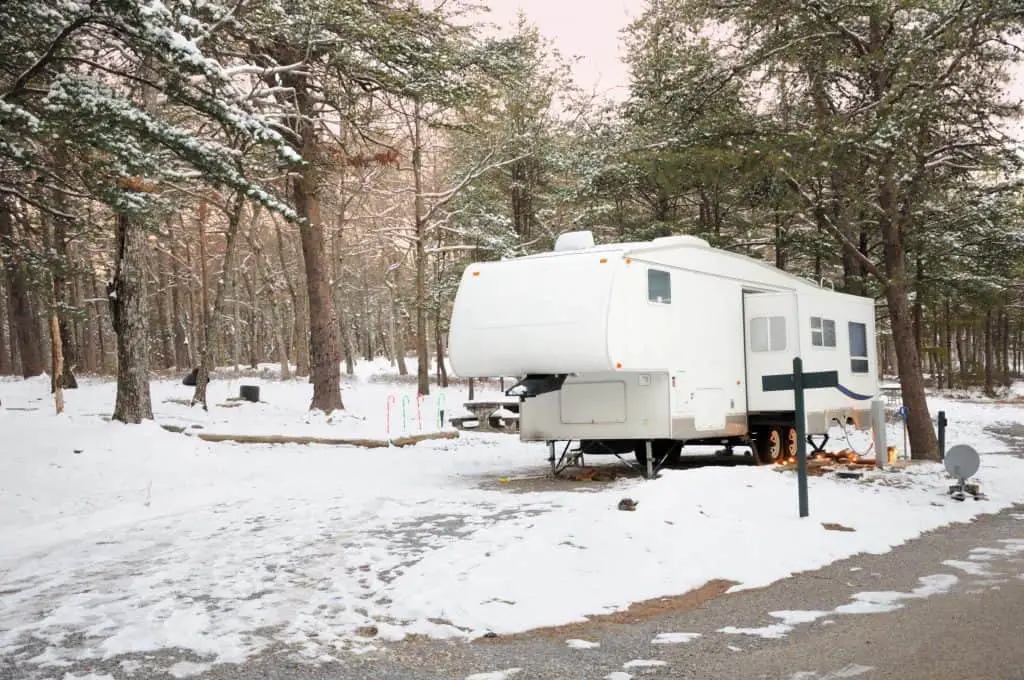
The term ‘winterize’ might be alien in tropical regions, but it’s very crucial in continental areas where winters are unforgiving. Winterizing means preparing something to face the harsh winter conditions. For camper owners, winterizing is of paramount importance to avoid costly repairs and being stranded in the middle of nowhere.
Winterizing your camper comprises a few steps. Remove anything that might be damaged by antifreeze, drain all the waters from the whole system and apply the antifreeze. It’s not as simple as it sounds like. In fact, it could feel quite complicated for first timers.
Now that you understand winterizing, you are sure to be wondering “How Cold can it get before I have to winterize my camper?”. The rule of thumb is before the temperature becomes freezing which is around 32 degrees Fahrenheit. It’s always better to have your camper winterized before winter arrives so you don’t have to rush at the last moment.
What is Winterizing Camper
Winterizing your camper is fortifying it to withstand freezing temperatures of winter. It is basically keeping the water pipelines from freezing. Varieties of antifreeze chemicals are available in the market. The procedure to properly introduce it to your campers plumbing system is what we call winterizing.
Your camper is also your second home. In addition to protecting the plumbing system, you also have to take winterizing the exterior and interior, electrical system, heating system into account. Proper precautions for the winter will leave your camper in tip top condition for the next season.
How to Winterize Your Camper

Winterizing your camper can be difficult if you have no prior experience. It slightly varies for different models but the basic steps should be strictly followed. Here I am going to break down the steps in a detailed manner so that you can easily understand the process. Before starting, you are going to need the following items:
- Nontoxic antifreeze. The amount depends on the length of your plumbing system.
- Water heater bypasses kit.
- A cleaning wand to flush the black tank
- A pump converter kit to bypass the fresh water tank
- Basic hand tools
Note that the water heater bypass kit is pre-installed in some models. Some campers also have a built-in tank flushing system. In that case, having the remaining items will do.
Now that you are all ready to go, follow the steps below:
Remove and bypass inline filters
Removing any inline water filters from the system is a good idea because they are prone to damage from the antifreeze you are going to apply. Use the bypass hose to bypass waters when the filter is removed. You should also check if new filters are required by the end of the season.
Drain both your black and grey tanks
The black water tank in your camper holds waste water from the toilet. The grey water tank also holds waste water, but from the kitchen sink and shower. It is important to drain these two tanks properly at any RV dumping station. If your camper doesn’t have a built-in flushing system, don’t worry. Tank flushing wands are available at every dumping station.
Drain the water heater and water lines
You also have to completely drain the water heater tank with some precautions. It must not be hot and under pressure when draining. Turn off the power and let it cool down. Use any of the faucets to relieve the pressure. Now you can remove the drain plug. Try using the pressure relief valve to drain faster.
Drain any remaining water using water faucets
Engage all of the water faucets to flush any remaining waters in the system. It is very important to get rid of every drop of water before applying the antifreeze. Open all the cold and hot water faucets including outside showers to drain water. Take advantage of the low point water drain lines for rapid drainage.
Bypass your water heater
Bypassing your water heater is of utmost importance because if you don’t, a huge volume of antifreeze you infuse will go into the water heater. This will waste around six to ten gallons of antifreeze. Most of the campers come with built in water heater bypass. If yours don’t, you can easily have one installed from your nearest camper service facility.
Install a water pump converter kit
The final step before introducing the antifreeze into the system is setting up a water pump converter kit. Another way is removing the inlet side of the water pump and putting it inside the antifreeze container. A water pump converter kit is more convenient. It also makes draining the fresh water tank easier.
The purpose of all these is to keep the antifreeze from flowing into the fresh water tank. You don’t want the chemical in there since it taints the taste of the water.
Pump the antifreeze into the system
Close all the water faucets, don’t forget the outside shower. Turn on the water pump. This will pump the antifreeze into the plumbing system. Start checking each faucet. Slowly open the closest one to the pump, then go on to the next. You will see pink colored antifreeze is flowing through the faucets.
Check all the faucets one by one. Flush the toilet to make sure antifreeze has reached the flush tank. Don’t forget to check shower head and toilet sprayer as well. Replace the antifreeze container after it is finished. Continue this process until you are confirmed that the antifreeze has reached the whole system. After that switch off the pump.
Pour any remaining antifreeze down every sink, toilet, bathroom etc. This is to reconfirm that the chemical has travelled throughout the whole system.
Is Winterizing A Must For My Camper?
Winterizing is one of the most, if not the most important precautionary measure to ensure longer lifespan of your camper. Subzero temperatures of winter can cause the water residues in the system to freeze, expanding and breaking the water pipes and other components. These can result in some serious bills to pay.
The plumbing system of a camper is an intricate network of pipes, heater, water pump, fresh water tank, waste water tank and more. Damage in any portion of the network could affect the whole system and severely impair the water supply. The final result is paying the bills for something you could have avoided.
Not winterizing your camper could prove troublesome in certain situations. If you are far away from the nearest service station and your camper starts troubleshooting, that’s something you would want to avoid at all cost.
Conclusion
Traveling in a camper is an experience unlike any other. It is unique, adventurous and the dream of many avid travelers. While buying a camper is expensive, its maintenance could be even more costly if not properly taken care of. Winterizing is one of the key maintenance required to ensure a longer lifespan of your camper.
Winterizing protects the entire plumbing system as well as other vital systems of a camper. As procrastination is a core nature of us, you might be still wondering, “How Cold can it get before I have to winterize my camper?”. Just make sure it’s done before the temperature becomes freezing or intolerable enough to work in.
Proper winterization method not only extends your campers life expectancy, it also facilitates the procedures for the next season. I strongly believe that the information provided above will be able to make your winterizing experience less complicated and more convenient.
