Keeping your RV batteries stored over the winter will extend the life of your battery. Several systems in your RV run continuously and deplete your battery. To make matters worse, if your battery is left connected throughout the winter, it may freeze.
The best way to store your RV battery for the winter is to first remove it, then fill it back up and clean the outside. Fully charge the battery before storing it in a warm, dry location using a trickle charger to maintain the charge. After that, you only need to check the battery’s charge once a month.
There is no one who likes to buy a new RV battery earlier than they have to, but if you have never disconnected and stored it before, the procedure may seem overwhelming. While this may sound intimidating, it is actually quite simple, and I’ll walk you through every step of how to winterize your RV batteries.
How to Store Your RV Battery
Is it necessary to remove the batteries from an RV during the winter? At first, I had my doubts as well. However, the northern Wisconsin winters can be extremely cold. Having said that, I’ve previously stored my travel trailer and learned that storing your battery isn’t just for cold weather.
One example of a system in your RV that is constantly in use is your propane leak detector. When you’re driving, your vehicle or RV’s engine recharges the battery, so the draw from these systems isn’t noticeable. However, if your RV rests for an extended length of time, the battery steadily drains.
Sulfation or crystal formation on the battery plates can result as a result of this. It all begins when your battery is under 80 percent charged and just gets worse from there on out. Batteries can be ruined by sulfation if they are not recharged soon, so carefully storing your battery before putting your RV away will save you the expense of having to replace it later.
In addition to the lead plates, RV batteries contain a liquid mixture of water and sulfuric acid, which freezes when temps fall below freezing. When it freezes, the battery swells, which can lead to a break in the case, resulting in battery damage or destruction.
Even if you’re not planning on using your RV for the next few months, it’s critical to store your battery when it’s not in use. Right about now, you’re probably wondering how to get started. I’ll walk you through each of the six simple procedures it takes to save and maintain your battery during the winter.
Disconnect and Remove Your RV Battery
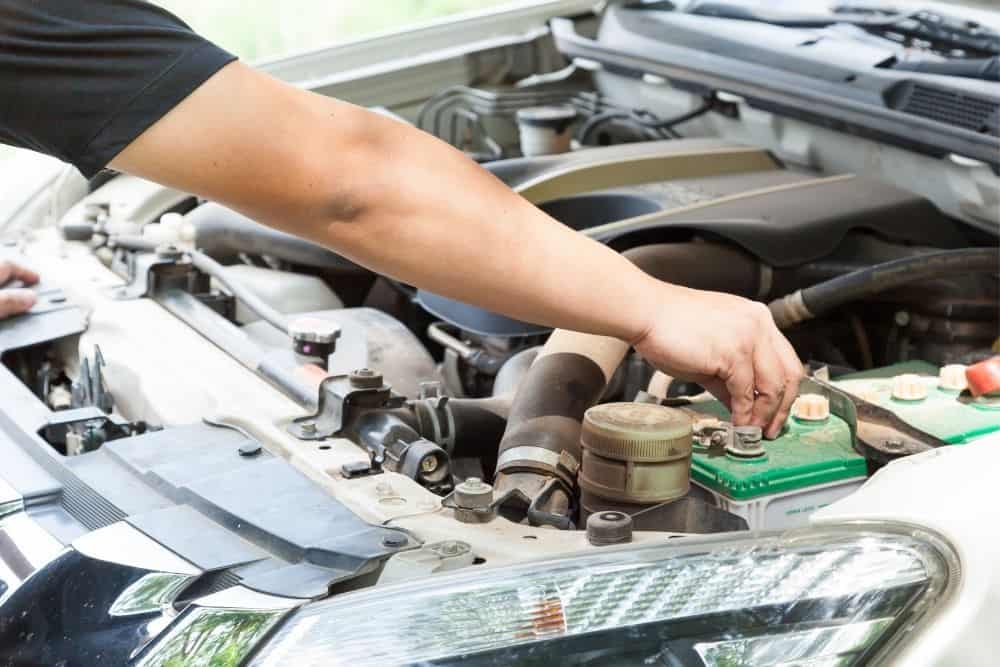
Start by turning off everything that’s using your battery power, and then refer to your owner’s manual to figure out where it is. The location of the positive and negative terminals will depend on your setup, but after you’ve located it, you’ll want to identify them.
Your RV battery terminals and leads should be clearly marked with labels if possible. If this is not the case, mark them before removing the leads so that they can be reconnected later on.
It is possible that both of your battery terminals will be connected via black and white or red cables. If your terminals and leads aren’t labeled, you may quickly indicate them based on where each wire is attached and what color it is. White leads are always negative and red leads are always positive.
You may now begin removing the battery from the device. An adjustable wrench or socket wrench will be required to remove the bolts that hold the wires to the board. Remove the nut first, and then slide the positive lead off the bolt.
You should be able to pick up or slide the battery out of the compartment after removing both the positive and negative lines. The top of many batteries has a handle for easy handling. Once the battery is removed, you can use covers to protect the exposed lead ends. Just be careful not to let the exposed ends come into contact with one other.
Clean Your RV Battery
It’s likely that you’ll have to clean your batteries well before putting it away. Clean the battery’s case to get rid of any corrosion that has formed, as well as any dust or dirt. A buildup of corrosion surrounding the battery terminals can be seen as a white, greenish, or bluish color, and it can put additional strain (resistance) on your battery circuit. Dust and debris can also sneak inside when you check your water levels, causing corrosion to worsen.
You can clean the battery case by spraying it with baking soda and water in a 1:6 ratio and wiping it down with a rag. To remove corrosion, spray the area with the solution and then scrub with a wire brush.
Check Your RV Battery Water Levels
After you’ve cleaned and inspected your battery, it’s time to see how much water is in it. Regular use will reduce the water level in RV batteries, which should contain about 36% sulfuric acid and 64% water.
Before you begin, put on some protective gear such as gloves and safety goggles. When it comes to sulfuric acid, even a small amount can be harmful to your skin and eyes. Pry open the designated covers on top of the battery box with a flathead screwdriver and remove the battery. By doing this, you’ll be able to observe how much liquid is in the main compartment’s many holes (cells).
If the liquid level in the cells is low, you can add distilled water to bring it up to at least half an inch above the tops of the plates. If you overfill the cells by more than 12″, you run the risk of the liquid overflowing while the battery is in use.
You should only use distilled water because it includes fewer minerals that will collect in your battery if introduced. Put the lids back on the cells after they are filled and clean up any liquid that leaked during the filling procedure. The battery is now ready to be charged.
Charge Your RV Battery
Your battery has been thoroughly cleaned, full, and is now almost ready for storage. Before you go, make sure the battery is completely charged. If you’ve been traveling recently, your battery may already be fully charged, but if not, you’ll want to restore it to 100 percent. It’s best to store your battery fully charged to ensure that it stays over the 80 percent line while it’s not in use. Unfortunately, your battery will lose charge over time while being stored.
There are a variety of ways to charge a battery, including using shore power at home, a 12-volt battery charger, or a generator. The method that is most convenient for you will be determined by your set-up and the size of your battery. Whichever method you select, be sure to use the proper tools and avoid overcharging your battery.
Use a Trickle Charger
Finally, your battery is ready for long-term storage. A trickle charger isn’t necessary if you’re only planning on being away from your RV for a few weeks or months; but, if you plan on being away for longer, you run the risk of losing too much charge from your battery.
When your battery starts to run low, a trickle charger detects it and slowly recharges it. When used for long-term storage, they keep your battery at least 80% charged and prevent you from having to recharge it yourself. They also ensure that the battery doesn’t get overcharged and has to be replaced. Using a trickle charger is strongly advised if your RV will be out of commission for more than two months.
Check Your Charge
You may check your battery’s charge with a trickle charger, a multimeter, or a hydrometer. The positive and negative leads of the battery are connected to the multimeter’s inputs, and the voltage reading is obtained by looking at the display. If your battery voltage is less than 12.4 volts, it is not fully charged.
Sucking out the liquid from each cell and then measuring the specific gravity on the hydrometer are two ways to use the hydrometer. If your battery voltage is less than 1.235, it’s not fully charged.
If you choose not to use a trickle charger, you should still check the charge of your battery on a regular basis. However, even if you elect to use a trickle charger, you should still check in on it once a month to make sure nothing is wrong.
Where to Store Your RV Battery Over the Winter
You’re aware that when storing your RV, the batteries must be disconnected, but where should they be kept? Keeping your RV outside during the winter is fine, but taking the batteries inside or to a warmer location to prevent it from freezing is highly recommended.
A garage, shed, cellar, or other warm, dry location can be used. Using a layer of cardboard or other material under the battery will prevent it from losing charge as quickly as you’d want.
Another option is to put it in an insulated battery box; just make sure that the box can also be used while the battery is connected to a trickle charger.
In Conclusion
Keeping your RV battery stored during the winter has numerous advantages, but the most important one is that it extends the life of your battery. Simply unplug the battery, clean and recharge it, and then store it away from the elements is all that is required. If you’re going to be away for a time, you can use a trickle charger. Just make sure it’s completely charged before you reconnect it.
