
It doesn’t matter where you live or where you go; you will always have laundry to do. If you have kids, you know they can get dirty just sitting on the couch. This means lots of laundry for the parents!
Our RV is an older one and doesn’t have hookups to have a washer and dryer (or room for one either). However, we are lucky enough to have a bathtub in our RV.
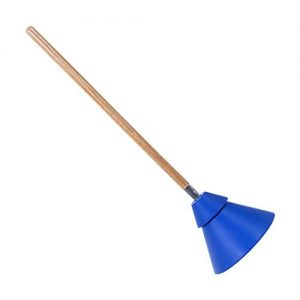
Because we try to live as cheap as possible, we avoid the laundromat whenever possible. To accomplish this, we use a breathing mobile hand washing machine.
To be honest, it kind of reminds me of a toilet plunger, although it is made of hard plastic instead of rubber.
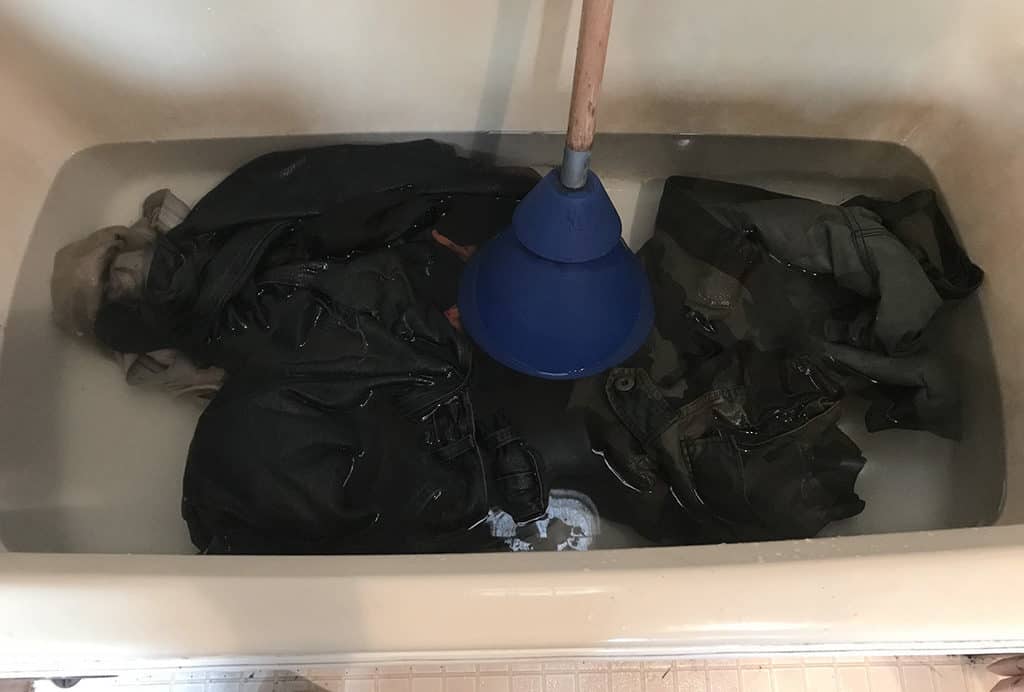
Regardless of how it looks, I will say that it really cleans the clothes! When we use this, we only put as many clothes as we can fit on our drying rack in the bathtub (if you don’t have a bathtub, you can use a bucket). This tool works like the agitator bar in a machine — and YOU are the machine 😉 If you use it right, you can get your clothes cleaner than any electric machine can. But it does take ELBOW GREASE and a bit of common sense. It never ceases to amaze me how much dirt it pulls from our clothes.
First: FILL
You will want to make sure that you use more water than clothes in your bucket. This is so the clothes can move around freely when you agitate them. You can use whatever water temperature you like to use when using a machine (I personally prefer HOT, but it is up to you). And don’t forget to add the laundry soap! I like to let my clothes soak for a little while before moving on, but that part is entirely optional.
Second: WASH
For this part, you will have to plunge, plunge, and plunge some more!! Make sure you don’t keep the ‘Mobile Washer‘ in the same spot. You will want to pull it out of the water and put it down somewhere else. Remember: you want the clothes to MOVE A LOT! If you are doing it correctly, you will hear this thing make that sucking sound. If you hear the sucking sound then you know it is pushing the water thru your clothes when it goes back down. Depending on how many clothes I have in there, I will sometimes put my hand in there and mix the cloths so that the bottom ones are on top.
Third: RINSE
Next, you will want to change the water, and you guessed it, PLUNGE SOME MORE!. Since we use our bathtub, it is pretty easy to drain the water out. If you are using a bucket, then it may be a little harder. Some people have suggested using a bucket that has the holes all thru it inside the bucket while washing, and then lifting it out, so the water drains, and then dump the bucket.
Draining can be done with just your wash bucket. However, you will want to use your hands to hold back your clothes. Then tip the bucket on its side to let the water out. Another way you can do it is you can have TWO buckets. Take the clothes out of the one you are washing in and put them into the waiting bucket. There are many ways that you can do this, but I hope you get the idea!
IMPORTANT: Do this rinsing step as many times as you want until the clothes are as clean as you want! I keep doing it until my rinse water looks clean. However, you decide how much dirt and soap residue you can live with on your clothes. Really dirty clothes WILL take SEVERAL water changes to get clean!
Fourth: DRY.
After you have got the clothes as clean as you want, then drain your water one last time and get ready to dry your laundry. Then you can hang your clothes to dry. Depending on the campground, I will hang the clothes outside (except my undergarments because I don’t like to have those things hanging outside for everyone to see because I’m weird like that) or I will hang them on a rack over my bathtub.
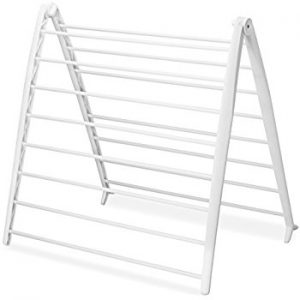
This is the rack that we use. You can buy it on Amazon here, but we just picked ours up from Walmart. I will say have to say that the quality of the rack is very cheap. Ours was broken right out of the box. I didn’t feel like taking it back to Walmart, so I just hot glued it back together. I have also seen reviews that the hinges wear out really fast if you use them a lot. We just throw ours on the bed when we aren’t using it. This way I don’t use the hinge very often, so we haven’t had a problem with that.
I specifically wanted one that I could perch on the edge of the tub. This way I could lean against the wall so the clothes could drip right into the bathtub as they dried. I squeeze most of the water out of the cloths. Then I just drape the drippy wet clothes all over it and leave em til dry.
Ta-Da! THAT’S IT!! You are done 🙂
It is actually simple to get really clean clothes using this tool. It may be simple, but it is definitely WORK. We have been using this method since December 2015, and it has worked well for us. It has saved us quite a bit of money over the years by not having to use the laundromat.
